Today, we’ll take the next step: starting your plants from seeds.
Don’t worry—this isn’t complicated or messy. It’s a fun, low-cost way to grow your garden from scratch. You’ll be amazed at how much joy you can get from watching a seed sprout.
Why Start from Seed?
– It’s cheaper than buying grown plants.
– More choices. You’re not limited to what the store has.
– It’s rewarding. Watching a plant grow from a tiny seed is a joy.
– You can start early. Indoors or in a greenhouse, way before spring hits.
You also get to skip the harsh chemicals and mystery soil that come with some store-bought plants.
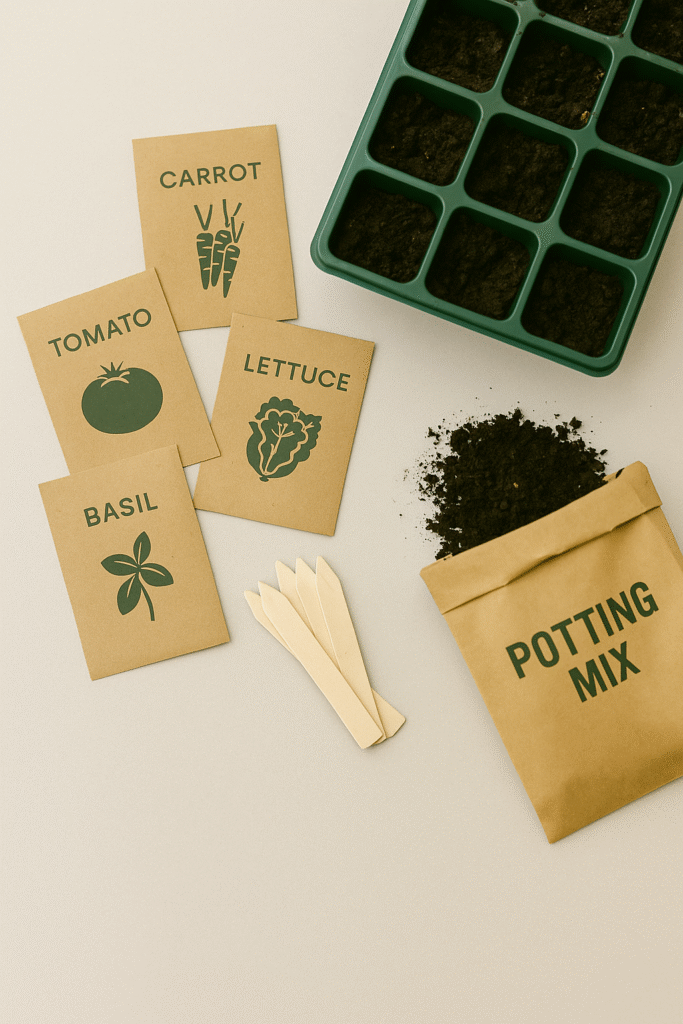
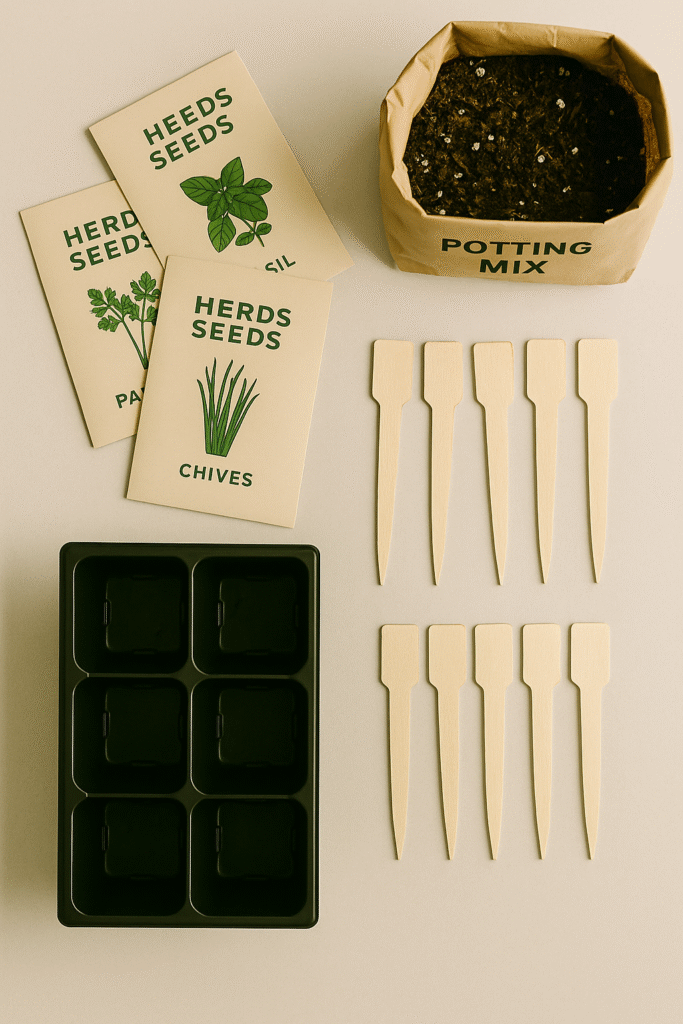
What You’ll Need
– Seed packets
– Small containers or seed trays
– Potting mix (NOT garden soil)
– Spray bottle or small watering can
– A sunny window or grow light
– Plant markers (or popsicle sticks and a pen)
✅ Tip: Start with easy seeds like lettuce, basil, marigolds, or zinnias.
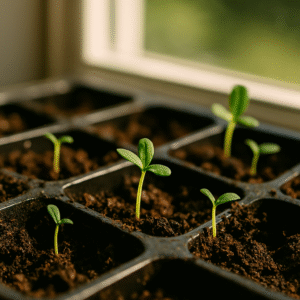
Step-by-Step: Starting Your Seeds
1. Fill your trays – Use potting mix. Press gently—don’t pack it down.
2. Add seeds – Follow the packet’s instructions. Most only need to be buried 1/4″ deep.
3. Label – Use tags or popsicle sticks. You won’t remember which tray had what!
4. Water gently – Mist or lightly water to keep the soil moist, not soaked.
5. Keep warm – Most seeds need warmth, not light, at first. Try the top of your fridge or a sunny spot.
6. Watch daily – Once they sprout, move them where they can get at least 6 hours of light.
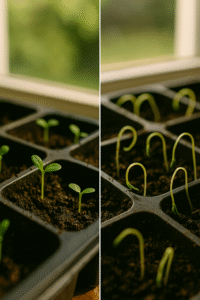
Thinning & Transplanting
“Thinning” means removing the weaker sprouts so the stronger ones can grow. It feels harsh, but it’s necessary.
“Transplanting” happens when seedlings get bigger and need more space. You can move them to bigger pots or into the ground once they’re strong enough.
Look for:
– 2 or more sets of real leaves
– Strong stems
– Roots coming out of the bottom
Common Problems (and How to Fix Them)
Problem
What It Looks Like
What to Do
Leggy seedlings
Mold on soil
Nothing sprouting
Yellow leaves
Long, floppy stems Pale or spotted leaves
White fuzz on top
Tray stays empty for 2+ weeks
Pale or spotted leaves
Needs more light
Too wet—let it dry slightly
Seeds may be too deep or too old
Might be overwatered
When to Move Outside
Wait until after the last frost in your area. Hardening off is the process of getting your plants used to the outdoors.
Hardening Off Steps:
Take seedlings outside for a few hours each day.
Gradually increase time over a week.
Keep them out of strong wind or hot sun at first.
After a week, plant them in your garden or containers.
✅ Tip: Use cloudy days to transplant—it’s easier on the plants.
Wrap-Up: You’re a Grower Now
You’ve just gone from seed to sprout. That’s a huge step in your gardening journey. In our next post, we’ll show you how to grow in containers and raised beds—perfect for smaller spaces and easy maintenance.
Don’t overthink it. Keep it fun. Seeds want to grow. You just have to help them get started.